[continued from Part 1] It’s always important to proof print before you start any Edition, this gives you a chance to iron out any corrections or just fine tune your print. I always proof or test print on the same paper as the Edition, some may use lower grade paper but your print can look very different, it is amazing how paper can make such a difference to a print.
Step 5
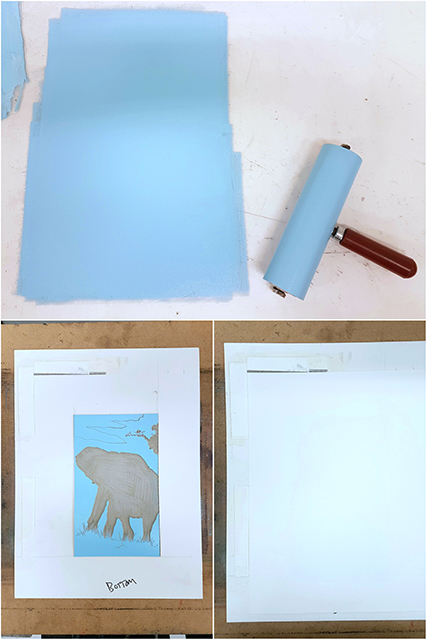
I wanted a light sky blue colour for the background, I mixed up quite a bit as I will be using this as a base for following colours. With the block inked and placed in the window template its time to lay the first test print. I only run one test print off, there’s no need to run dozens of prints.
Step 6
Registration is a real skill, I’ve seen so many good prints ruined by poor registration. But with practice and a lot of care and attention this will become second nature.
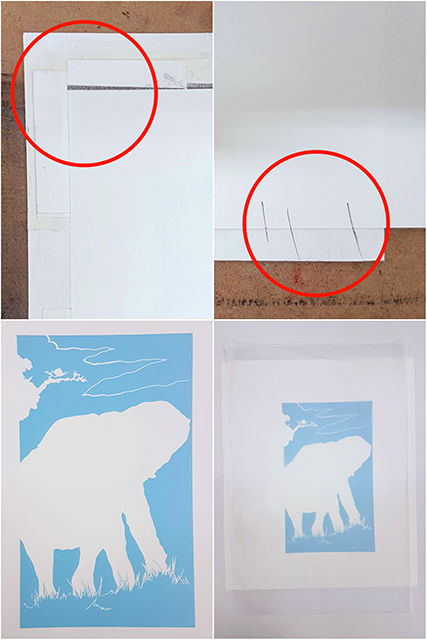
A window template is basically mount board with a hole cut to fit the lino block, along the top and left hand side are strips of card. The strips are used as a guide to lay the paper against; I always lay the corner of the paper in first, then along the left hand edge. I mark a couple of pencil lines across one edge of the paper, so next time I lay the paper I make sure these marks are exactly lined up.
This is an easy but full proof method of ensuring pin point registration. With the background printed I just give a light rub with tissue to take away any excess ink.
Step 7
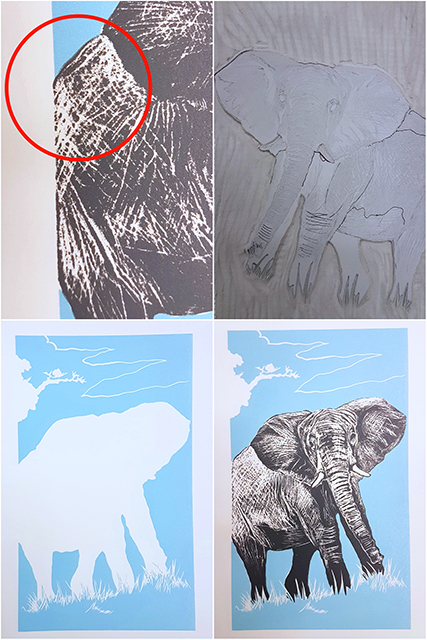
I took some of the sky blue ink and added a bit of carbon black to create a medium dark grey. With the block inked its time to lay the paper, notice how the paper is tight against the guides and the pencil marks are lined up exactly. As a first test print I was quite happy, there are a few things to tidy up but its almost there.

Step 8
On closer inspection I noticed I needed to tidy up the edge of the elephants body; it was slightly out of line with the background and I didn’t like the harsh outline, I wanted the body to kind of fade away. With the block cleaned I penned the areas I needed to work on. I also made a slight change with the ink; a lighter blue for the background and a slight fade from a dark to light grey for the elephant.
Step 9
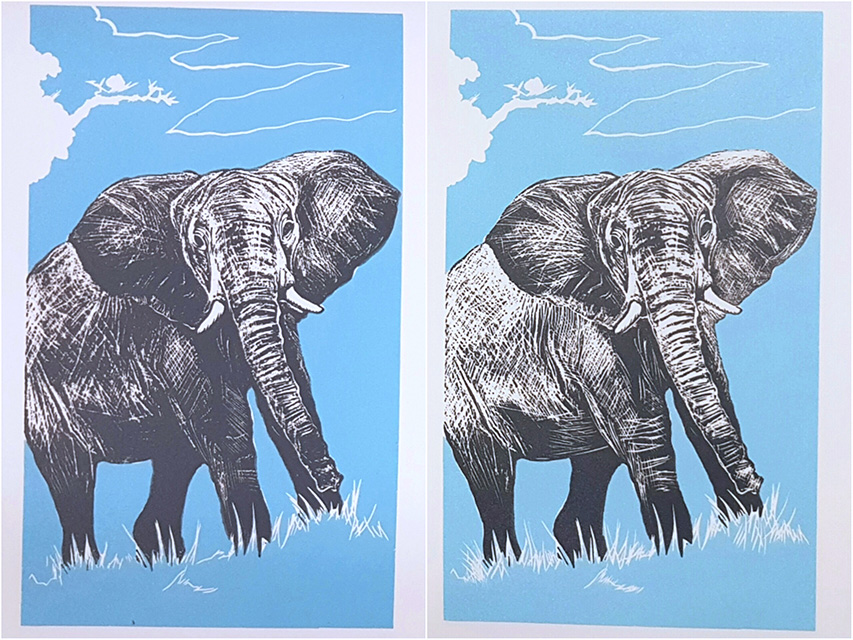
You can see the difference when comparing the two prints, the second proof is a much more pleasing and cleaner image. Also I must admit I think I had a bit to much ink on the roller when I printed the first copy. So now that I’m happy I can print the first batch.
Step 10
Once I had my first batch of blue versions complete, I added a bit of light green and printed another set of these minty green versions. I also had a bit of fun experimenting; to prevent the ink from clogging up the lino I periodically took impressions to take away any excess ink. I ended up with a couple of prints that just look like etchings.
